When you want to start with Azure cost optimization the first thing you need to do is to open the black box. That means you have to step out of your comfort zone where you simply quick-checked your costs and go into the detail of your cloud bill. That’s not the most fun part but absolutely necessary.
Open the black box and know your costs
Most Azure customers I know treat their cloud bill like a black box. They know the total cost of the past months and compare it to the amount to the actual month. If the amount kind of fits to the past months they tick it off and that’s it. But they don’t know the details of their costs. What are the biggest cost drivers? Which apps lead to what costs? Are there new services, … Without that knowledge you cannot start to get the maximum out of your resources.
If you don’t know your costs, you cannot optimize them!
In the first place looking into the details seems overwhelming and confusing. Perhaps there are hundreds, or thousands of resources billed to you every month. To get an overview you need a tool that supports you with that. Let me tell you, Excel is not the best choice here. Take a look at Azure Cost Management as a native tool within Azure. If your organization uses another BI or FinOps tool feel free to use that. Everything is better than the black box.
Let’ take a look at the native Azure tools.
Use Azure Cost Management to dive into costs
Azure Cost Management is my first choice when starting to get an overview. It can help you dive into your data and arrange costs by hierarchy (e.g. Management Groups, Subscriptions, Resource Groups), tags, resource types, etc. If you need to you can dig deeper to the ground to find services that drive the costs.
How to start with Azure Cost Management
- Start using the smart views like Resource Groups, Resources, or Services to getting familiar with your resources and hierarchy.
- Use the Daily or Accumulated view to get an overview of changes or forecasts. Like this you identify trends and can use that knowledge to adjust the forecast.
- Apply filters to go into detail for certain tags or whatever is interesting to you. Save your customized views to reuse them later
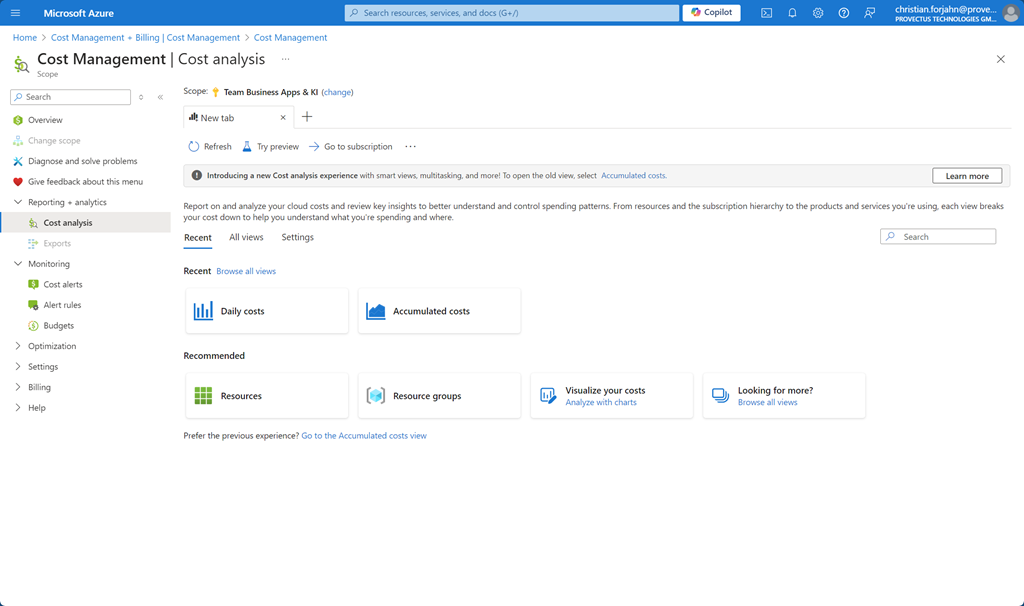 Cost Management Overview
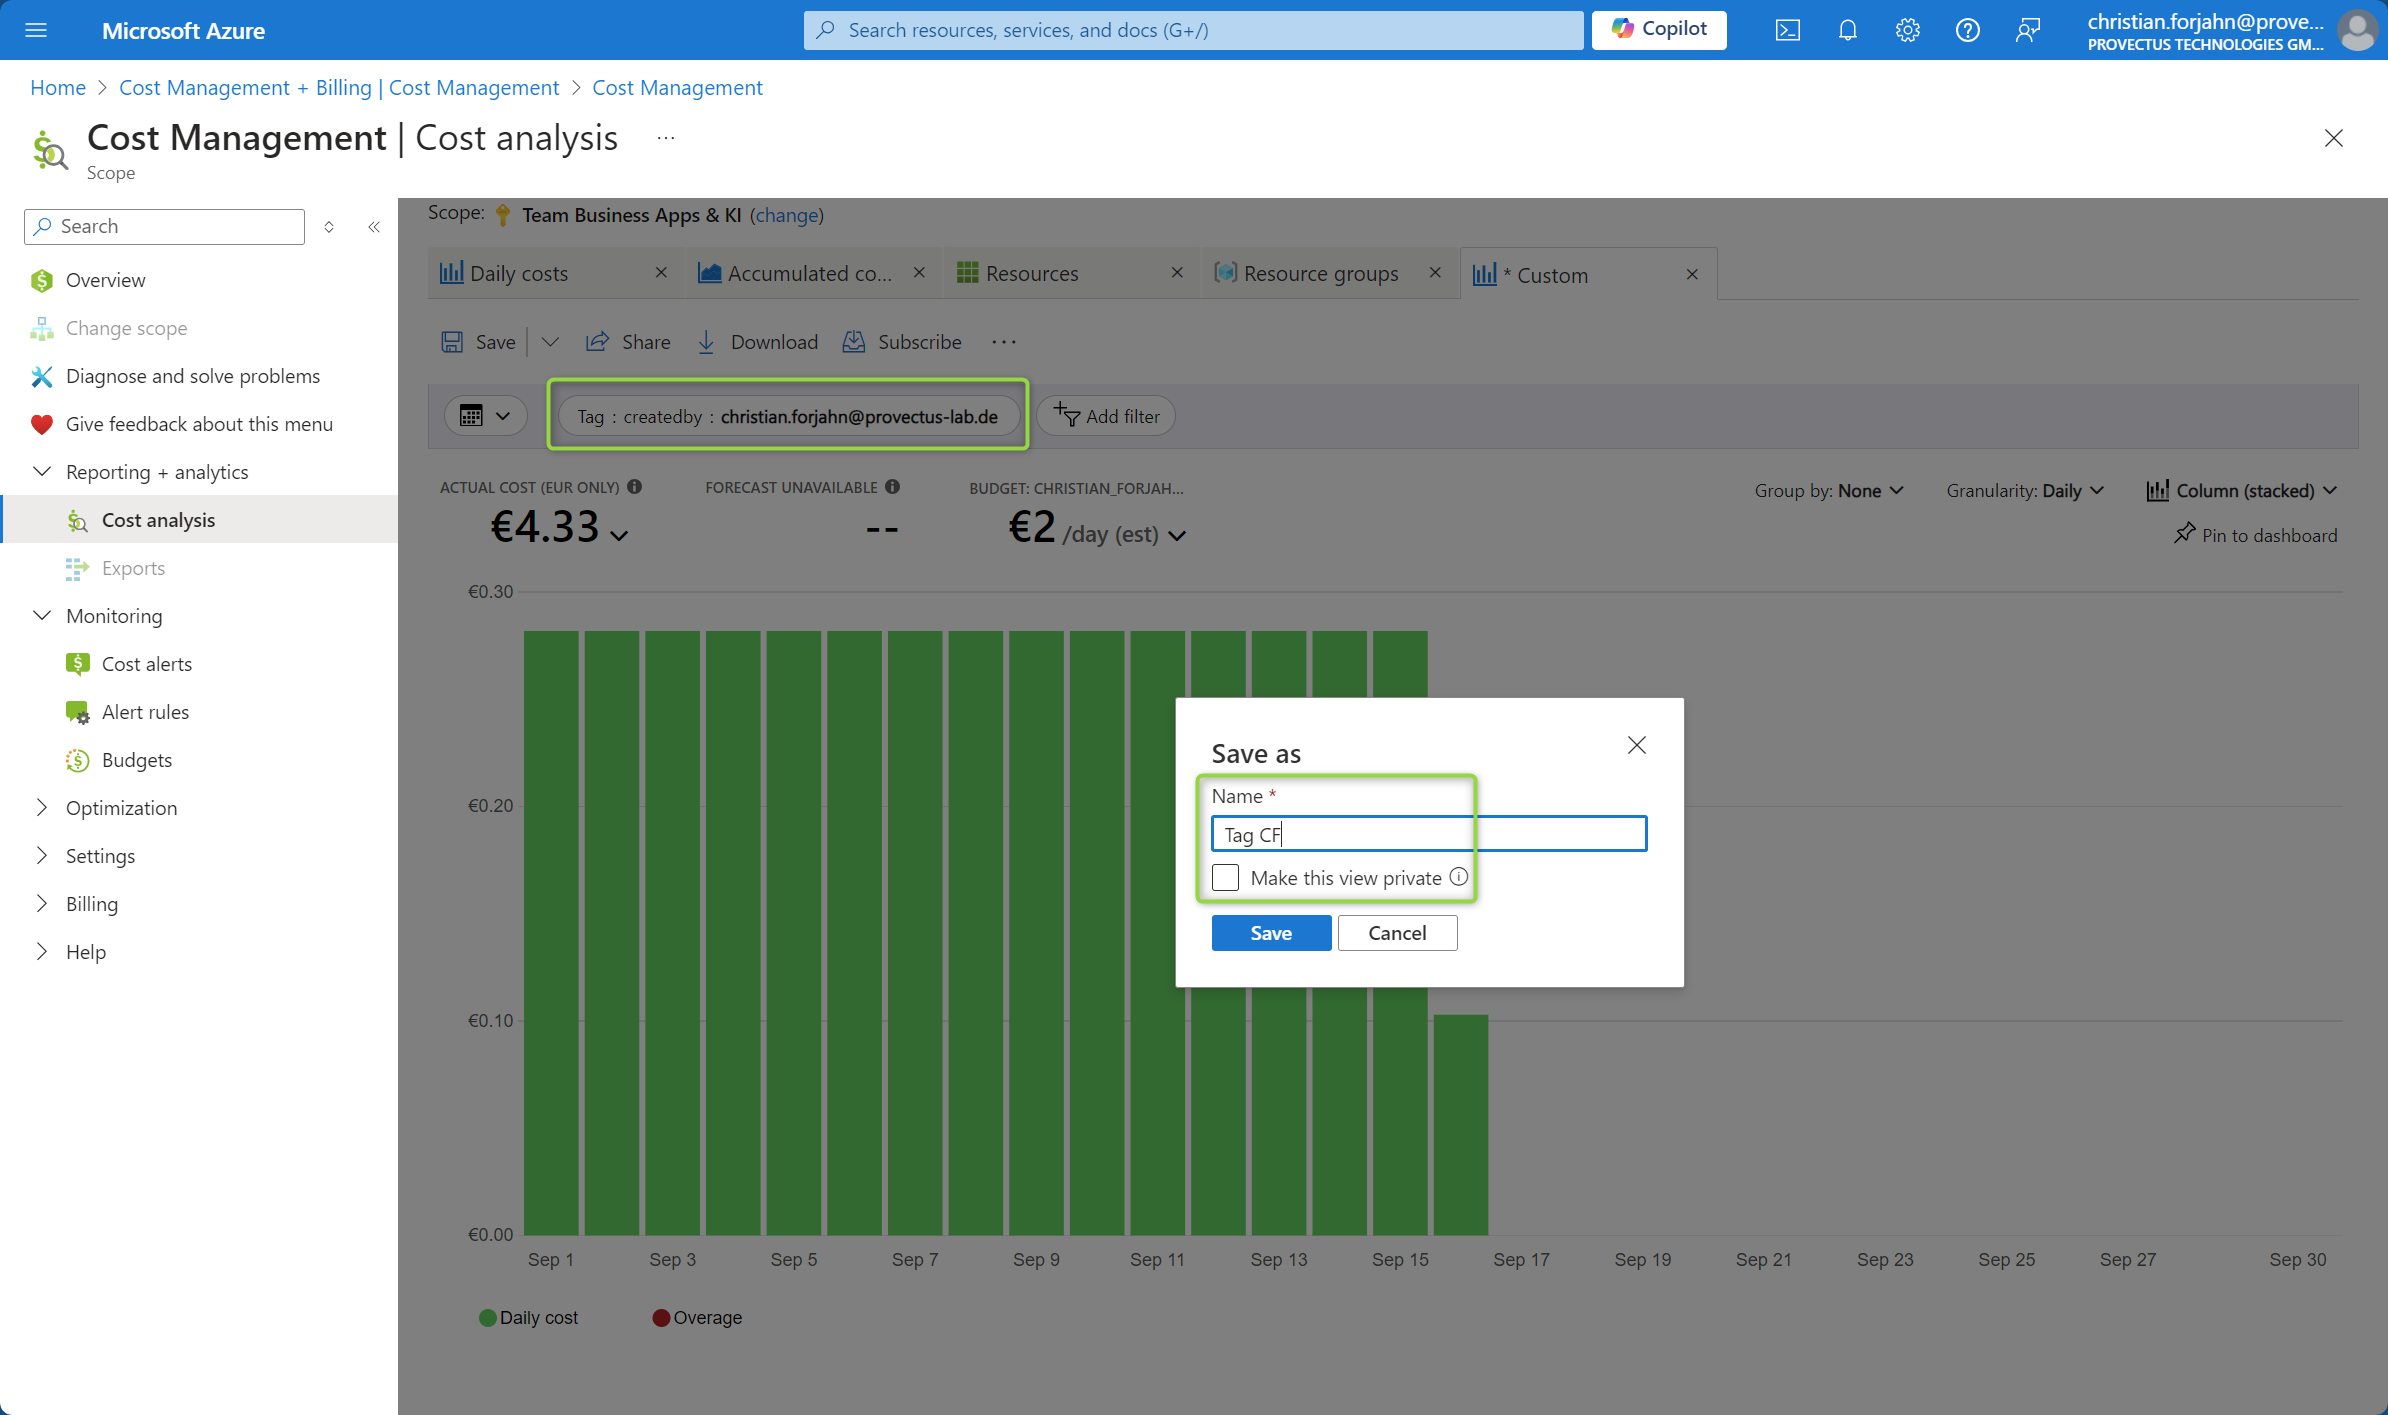 Filter the costs based on Tags and safe the custom view
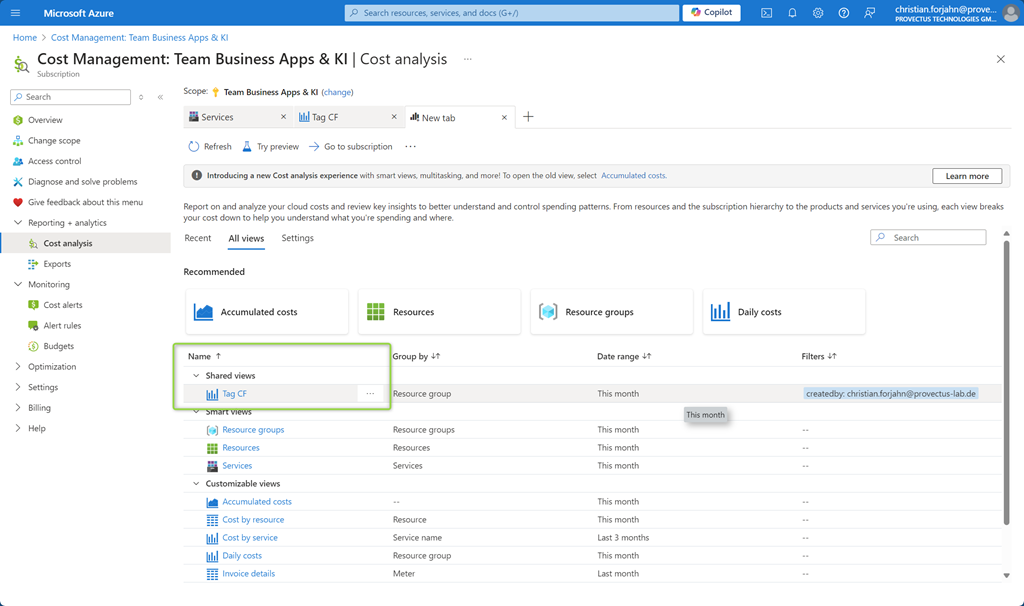 Reuse your custom view for your analysis
Export your data for external tools
Azure gives you the possibily to export data in a standardized format using the Azure Portal as well as through API. Use this possibility for external tools like BI or FinOps tools. You can download the reports one by one or use scheduling to store reports on a regular basis in Azure blob storage.
You can consume your cost data with PowerBI directly from the storage account!
Download
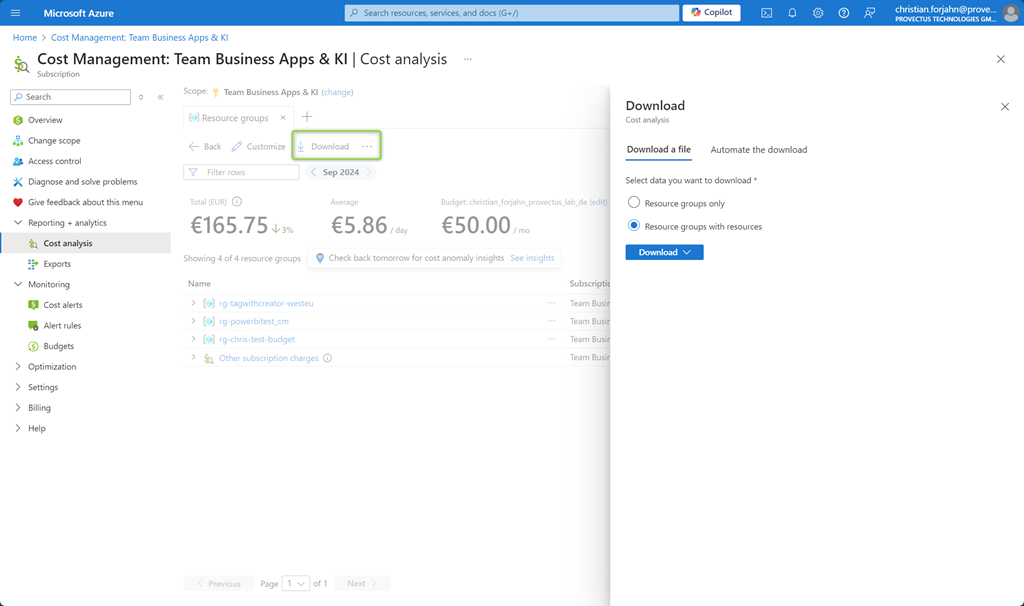 Use the download method to store your data in your local drive. You can then load it directly into your customized PowerBI dashboard.
Create a scheduled export
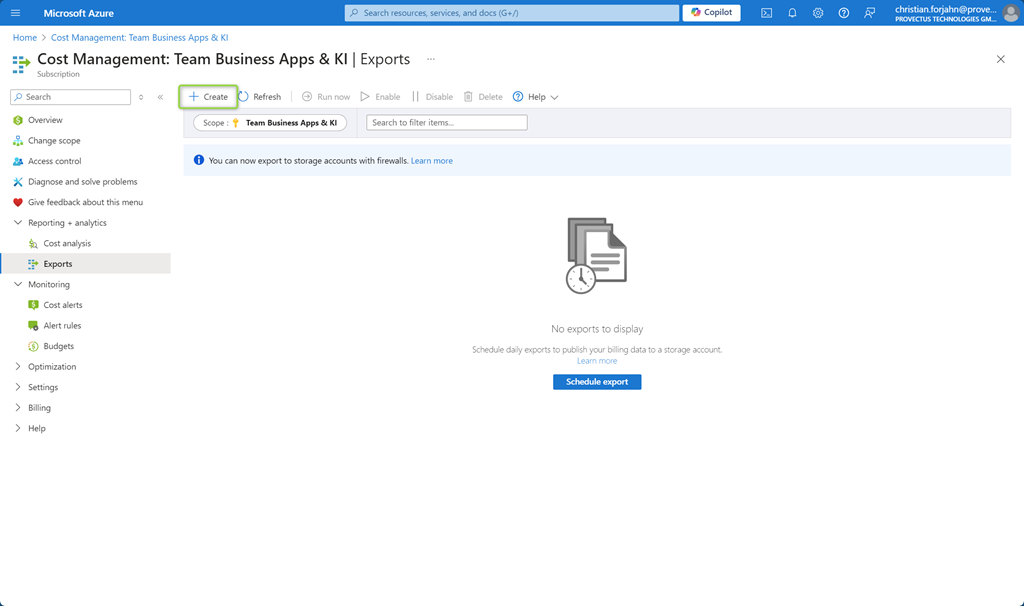 Create your first scheduled export
 Choose your dataset or template
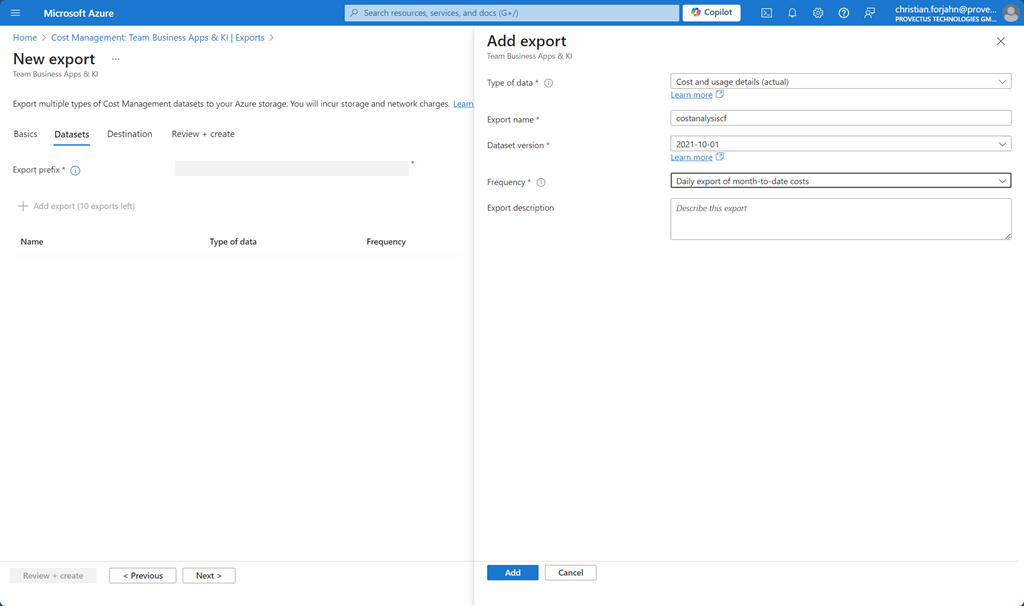 Give it a name and some basic information
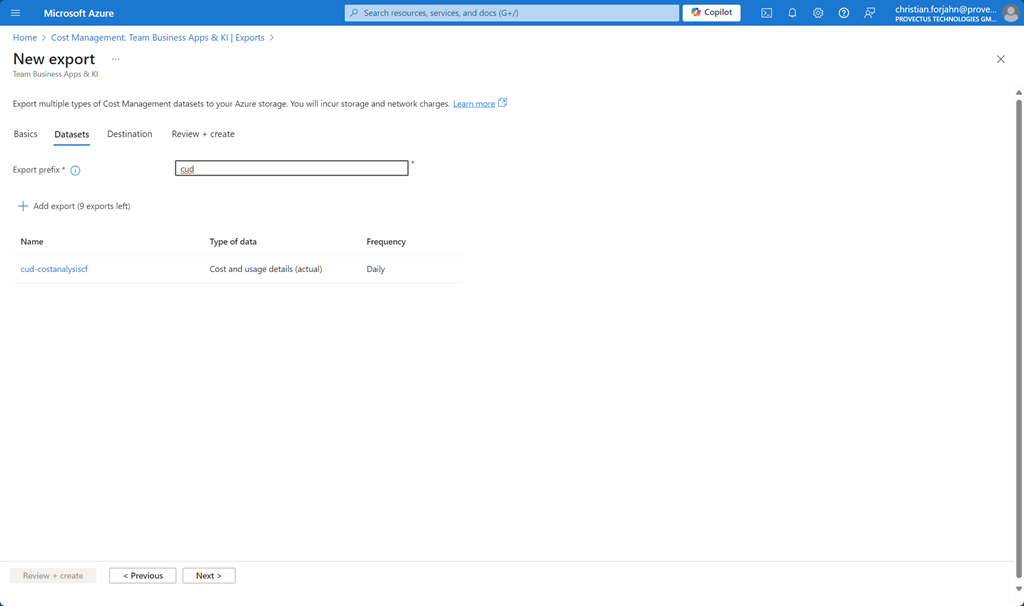 You need to give it a prefix
Choose the storage account etc. The export format can be CSV or Parquet.
From Azure storage accounts you can consume that data directly in your preferred tool or transfer it to your data lake or warehouse for further investigation.
Advancing with visibility and accountability
When you are familiar with your existing costs it becomes more important to allocate your costs to teams, products, environments, etc. That’s the point when you have to implement
- a hierarchy using management groups, subscriptions and resource groups
- a taging strategy to fill the gaps of the hierarchy or adding additional value
Why is this important? If the overall costs remains flat but one team did a good job with savings and another is filling up the gap to being able to deliver an update out be features faster you want to be aware of that.
Other Posts in the Cost Optimization Series
- Azure Cost Optimization Part 0 - Are you paying too much for your cloud?
- Azure Cost Optimization Part 1 - Know your costs
- Azure Cost Optimization Part 2 - Stay alert
- Azure Cost Optimization Part 3 - Identify cloud waste
- Azure Cost Optimization Part 4 - Rightsize your resources
- Azure Cost Optimization Part 5 - Turn off if not needed
- Azure Cost Optimization Part 6 - Start small with commitments
- Azure Cost Optimization Part 7 - Bring cloud cost optimization into your organization
Conclusion
To start your optimization journey the first thing you need to do is get rid of that black box called cloud bill. You can use Azure Cost Management or an external tool to dig into your data, create relevant reports for yourself, your teams and management. Get familiar with the tooling and the data. Knowing your costs is the starting point for Azure cost optimization.